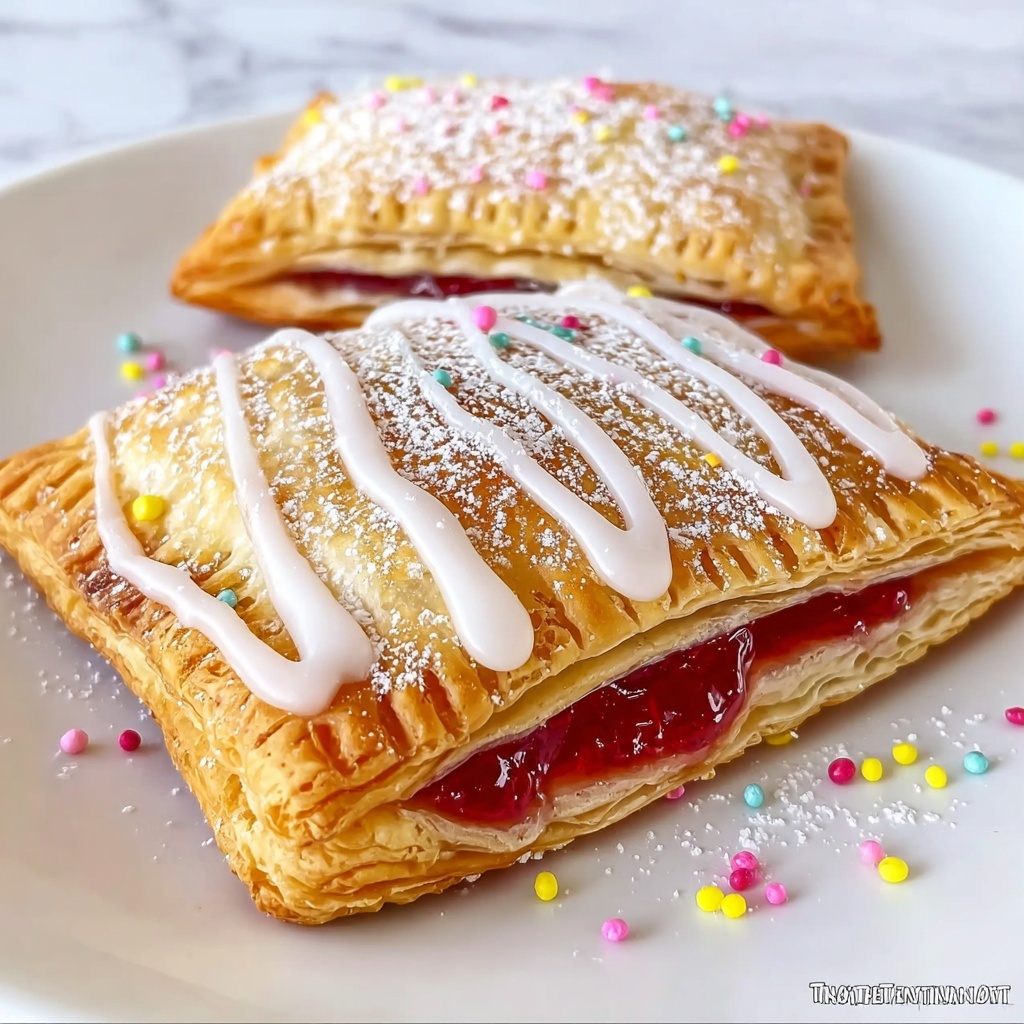
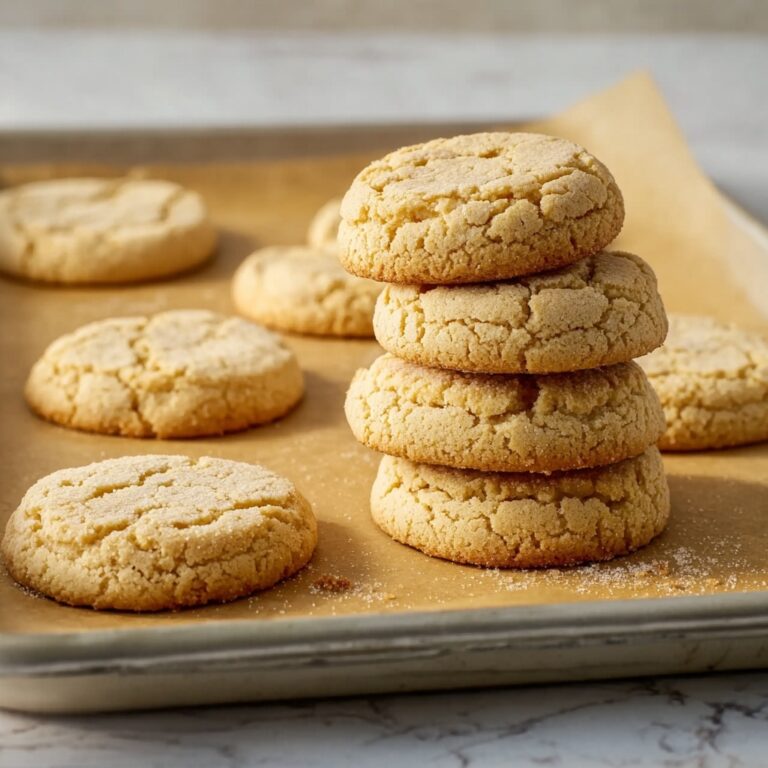
If you’ve ever craved that nostalgic, flaky breakfast treat bursting with sweet filling, then you’re in for a real delight with this Homemade Pop Tarts with Pie Crust Recipe. It’s everything you love about classic Pop Tarts but elevated with a buttery, tender pie crust that makes each bite melt in your mouth. Trust me, once you make these at home, store-bought versions will never satisfy you the same way again.
Ingredients You’ll Need
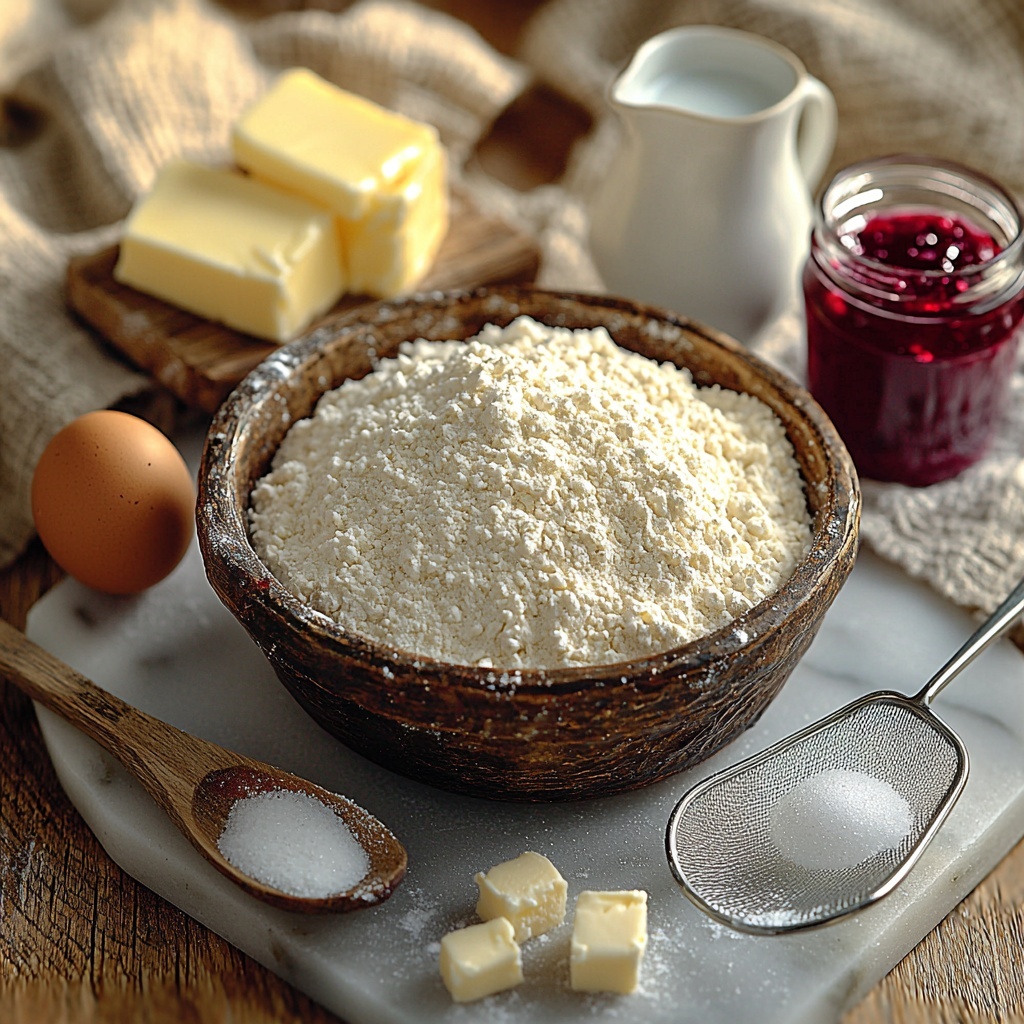
Preparing these Homemade Pop Tarts with Pie Crust Recipe is refreshingly simple thanks to pantry staples that come together to create an irresistible texture and flavor. Each ingredient plays a vital role from the flaky crust to the luscious filling.
- 2 cups all-purpose flour: The foundation of the crust, ensuring structure and flakiness.
- 1 teaspoon salt: Enhances all the flavors, balancing the sweetness.
- 1 tablespoon sugar: Adds a subtle hint of sweetness to the pastry.
- 1 cup unsalted butter, chilled and diced: The secret to that melt-in-your-mouth, flaky texture.
- 6 to 8 tablespoons ice water: Helps bring the dough together without warming the butter.
- 1 cup fruit jam or filling of your choice: Your chance to personalize with your favorite fruity flavor.
- 1 egg: Used for the egg wash, giving the tarts a beautiful golden brown finish.
- 1 tablespoon milk: Mixed with egg to brush over the tarts, enhancing browning.
- Powdered sugar for icing: Adds a sweet glaze that finishes these tarts perfectly.
How to Make Homemade Pop Tarts with Pie Crust Recipe
Step 1: Preheat and Prepare Your Dry Ingredients
Start by preheating your oven to 350 degrees Fahrenheit (175 degrees Celsius) to ensure it’s ready when your tarts are assembled. In a large bowl, whisk together the flour, salt, and sugar. This dry mix is crucial because it ensures an even distribution of flavor and seasoning throughout the crust.
Step 2: Cut in the Butter for Flaky Crust
Next, add the chilled, diced butter to the flour mixture. Use a pastry cutter or your fingers to “cut in” the butter until the mixture looks like coarse crumbs, with small pea-sized bits of butter visible. These little pockets of butter are essential—they create the flaky layers you want in a perfect pie crust.
Step 3: Form the Dough
Slowly add the ice water, starting with 6 tablespoons, stirring gently after each addition. Add more water if needed until the dough just comes together into a ball. Don’t overwork the dough here, or your crust might become tough instead of tender.
Step 4: Roll and Cut the Dough
Lightly flour your work surface and roll out the dough to about 1/8-inch thickness. Using a knife or pastry cutter, cut the dough into rectangles around 3 by 4 inches in size. These will be your pop tart bases and tops, so make sure you have an even number.
Step 5: Fill and Seal the Pop Tarts
Spread about a tablespoon of your chosen fruit jam or filling onto half of the rectangles, leaving a small border around the edges for sealing. Top each filled rectangle with an unfilled piece of dough. Press the edges together firmly and seal by pressing with a fork all around. This keeps all that jam inside during baking.
Step 6: Egg Wash and Bake
Whisk together the egg and milk and brush this mixture lightly over the tops of each tart. This will give your homemade pop tarts a gorgeous golden sheen. Place them on a baking sheet lined with parchment paper and bake for 20 to 25 minutes until the crust is golden brown and firm to the touch.
Step 7: Cool and Ice Your Pop Tarts
Once baked, allow the pop tarts to cool completely on a wire rack. This is important because it lets the filling set and prevents your icing from melting off. Drizzle powdered sugar icing over the cooled tarts to add a sweet, finishing touch that’s totally classic.
How to Serve Homemade Pop Tarts with Pie Crust Recipe
Garnishes
For an extra-special twist, consider topping your Homemade Pop Tarts with a sprinkle of finely chopped nuts or a few fresh berries paired with the icing drizzle. These garnishes add pops of texture and freshness that make each bite more vibrant.
Side Dishes
Serve your pop tarts alongside a steaming cup of coffee, chai tea, or cold milk for an irresistible breakfast or snack combo. Fresh fruit or a dollop of whipped cream pairs beautifully too, complementing the sweet filling without overpowering the delicate crust.
Creative Ways to Present
If you’re bringing these to a brunch or party, arrange the pop tarts on a pretty platter with colorful napkins or place them in cupcake liners for easy grabbing. For kids, try cutting them into smaller squares or shapes for fun mini treats that everyone will love.
Make Ahead and Storage
Storing Leftovers
Once cooled, store your Homemade Pop Tarts with Pie Crust Recipe in an airtight container at room temperature. They will stay fresh and delicious for about 3 to 4 days—perfect for enjoying several breakfasts or snacks without losing any of that flaky goodness.
Freezing
If you want to save some for later, these pop tarts freeze beautifully. Simply place them in a single layer on a baking sheet until frozen, then transfer to a freezer bag. They can keep well for up to 2 months without sacrificing flavor or texture.
Reheating
To bring your pop tarts back to life, pop them in a toaster oven or regular oven at 350 degrees Fahrenheit for about 5 to 7 minutes. This reheats them evenly, reviving their crisp crust and warming the filling just right.
FAQs
Can I use different types of jam for this Homemade Pop Tarts with Pie Crust Recipe?
Absolutely! One of the best parts of this recipe is its versatility. Whether you love raspberry, blueberry, strawberry, or even savory jams, feel free to swap in your favorite flavors to make it uniquely yours.
Do I need to chill the dough before rolling it out?
While this recipe doesn’t require chilling the dough after mixing, using chilled butter and ice water helps maintain flakiness. If your kitchen is warm or the dough seems soft, a short chill in the fridge for 15-20 minutes can make rolling easier.
Can I make the dough by hand or should I use a food processor?
You can definitely make the dough by hand, which is what makes this recipe approachable for any home cook. A food processor speeds up the butter cutting process, but a pastry cutter or fingers work just as well.
Is it okay to replace powdered sugar icing with store-bought glaze?
While you can use store-bought glaze, the simple powdered sugar icing in this recipe is quick to make and customizable with a splash of vanilla or lemon juice for extra zing. It’s the perfect finishing touch that feels homemade and light.
Can I add spices to the crust dough?
Definitely! Adding a pinch of cinnamon or nutmeg to the flour mixture can give your Homemade Pop Tarts with Pie Crust Recipe an extra layer of cozy flavor, especially great for fall-themed fillings like apple or pumpkin.
Final Thoughts
Making Homemade Pop Tarts with Pie Crust Recipe is like capturing a little slice of childhood happiness in every bite, but elevated with fresh, flaky pastry. With straightforward ingredients and simple steps, you’ll have a batch of irresistible treats that friends and family will beg you to make again. So roll up your sleeves and dive into this delicious project—you won’t regret it!
Print
Homemade Pop Tarts with Pie Crust Recipe
- Prep Time: 20 minutes
- Cook Time: 25 minutes
- Total Time: 45 minutes
- Yield: 12 pop tarts
- Category: Breakfast
- Method: Baking
- Cuisine: American
Description
Enjoy homemade pop tarts made from a flaky pie crust filled with your favorite fruit jam. This recipe combines simple ingredients to create a delightful breakfast treat or snack with a crispy, golden exterior and a sweet, fruity filling.
Ingredients
Dough Ingredients
- 2 cups all-purpose flour
- 1 teaspoon salt
- 1 tablespoon sugar
- 1 cup unsalted butter, chilled and diced
- 6 to 8 tablespoons ice water
Filling and Topping
- 1 cup fruit jam or filling of your choice
- 1 egg
- 1 tablespoon milk
- Powdered sugar for icing
Instructions
- Preheat Oven: Preheat your oven to 350°F (175°C) to prepare for baking your pop tarts.
- Mix Dry Ingredients: In a bowl, combine the flour, salt, and sugar until evenly mixed.
- Cut in Butter: Add the chilled, diced butter and cut it into the flour mixture using a pastry cutter or fingers until the mixture resembles coarse crumbs.
- Add Ice Water: Gradually stir in ice water, one tablespoon at a time, until the dough begins to form a ball and holds together.
- Roll Dough: Roll the dough out on a lightly floured surface to about 1/8 inch thick for a thin, flaky crust.
- Cut Dough: Cut the dough into rectangles approximately 3 by 4 inches each, forming the bases and tops of the pop tarts.
- Fill Dough: Spread your chosen fruit jam evenly over half of the rectangles, leaving edges clear for sealing.
- Assemble Pop Tarts: Cover the filled rectangles with the remaining plain rectangles and press edges firmly together using a fork to seal them.
- Prepare Egg Wash: Beat the egg and milk together, then brush this mixture over the tops of the assembled pop tarts for a shiny, golden finish.
- Bake: Place the pop tarts on a baking sheet and bake in the preheated oven for 20-25 minutes until they turn golden brown and cooked through.
- Cool and Ice: Allow the pop tarts to cool completely before drizzling with icing made by mixing powdered sugar with a small amount of water for added sweetness and decoration.
Notes
- Ensure the butter is well chilled to achieve a flaky crust.
- Use your favorite type of jam or fruit filling to customize the flavor.
- Do not overfill the pop tarts to prevent leaking during baking.
- The icing can be flavored with a drop of vanilla or lemon juice if desired.
- Pop tarts are best served slightly warm or at room temperature.

