“`html
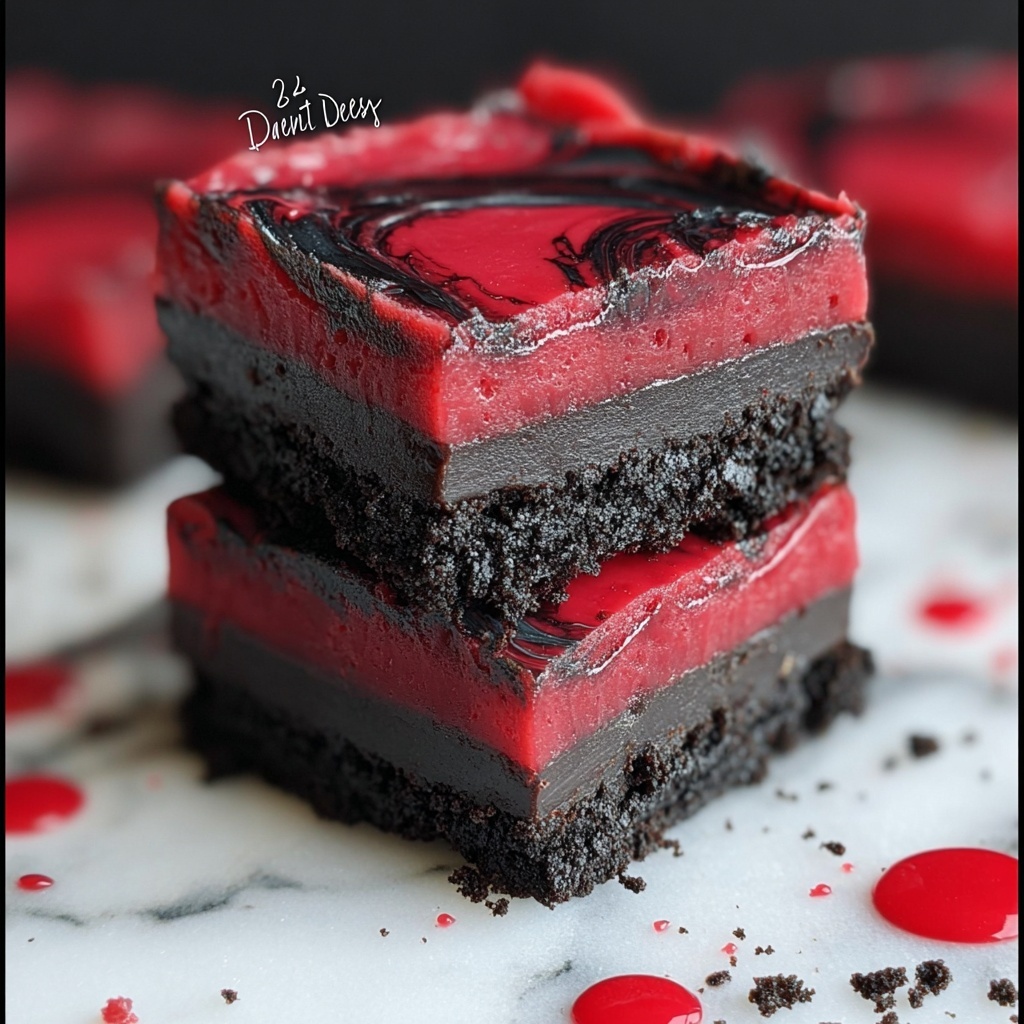
If you’re craving a dessert that’s as delightfully rich as it is theatrically spooky, let me introduce you to Vampire Fudge: A Spooky Sweet Treat Recipe. This luscious fudge layers velvety smooth chocolate, creamy peanut butter with a hint of ruby red color that adds a chillingly fun twist to your usual sweets. Perfect for Halloween or any time you want to impress with flair, this recipe combines classic flavors with a hauntingly beautiful presentation that will have everyone asking for seconds.
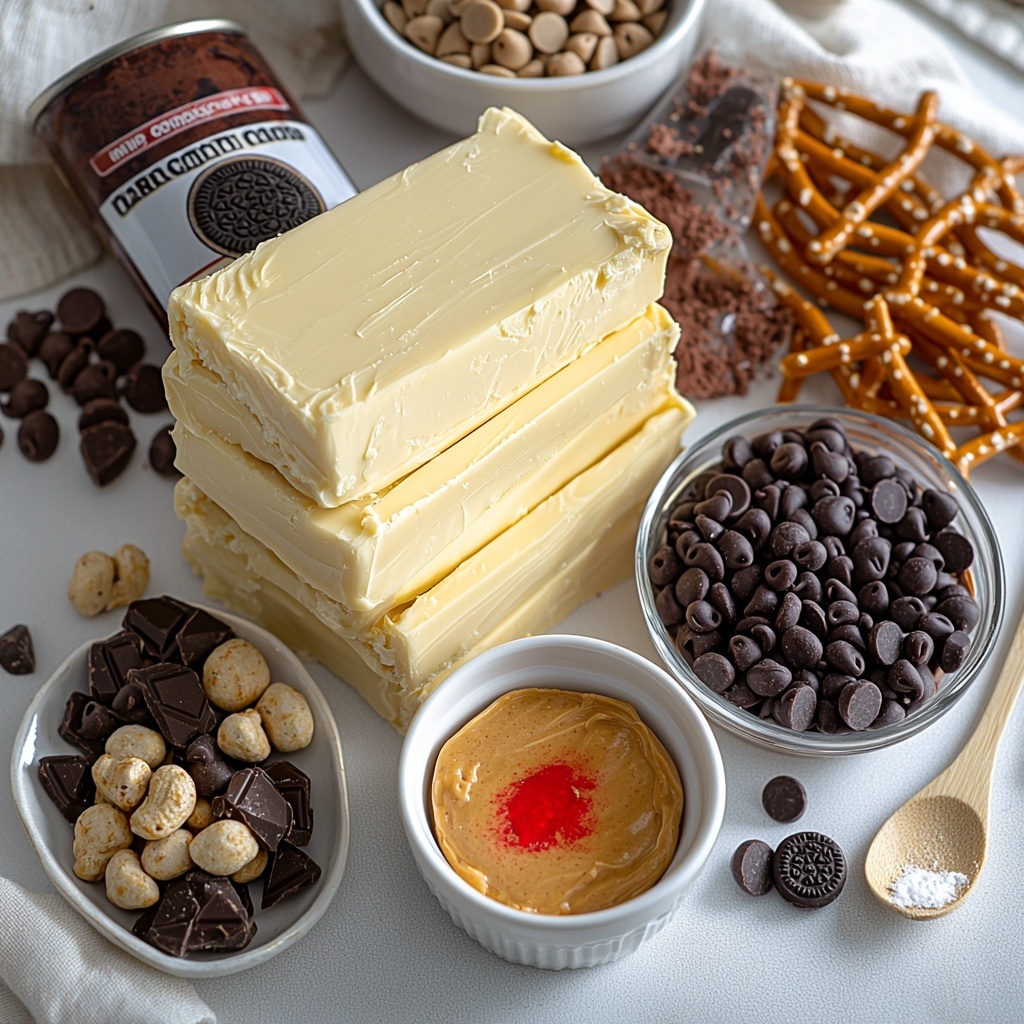
Ingredients You’ll Need
These ingredients are straightforward but crucial, bringing together the perfect balance of creamy texture, rich chocolate, and a pop of color that makes this fudge truly stand out. Each one is carefully chosen to build depth in both flavor and appearance.
- 1 cup (2 sticks) unsalted butter: Provides richness and smoothness, essential for that melt-in-your-mouth texture.
- 1 (14 ounce) can sweetened condensed milk: Adds a creamy sweetness that binds everything beautifully.
- 1 (12 ounce) bag semi-sweet chocolate chips: Brings a deep, slightly bittersweet chocolate flavor to the fudge base.
- 1 (12 ounce) bag milk chocolate chips: Adds a milder, creamier chocolate layer for extra indulgence.
- 1 cup creamy peanut butter: Provides a velvety, nutty flavor with just the right amount of saltiness to balance the sweetness.
- 1 teaspoon vanilla extract: Enhances all the flavors, adding warmth and complexity.
- 1/2 cup powdered sugar: Sweetens the peanut butter layer and helps achieve a smooth consistency.
- 1/4 cup unsweetened cocoa powder: Adds richness and deepens the chocolate profile.
- Red food coloring gel (a tiny amount): Gives that dramatic, spooky red swirl that makes the fudge truly shine visually.
- Optional: Pretzel sticks, crushed Oreos, chopped nuts for garnish: Adds texture, crunch, and personal flair to your presentation.
How to Make Vampire Fudge: A Spooky Sweet Treat Recipe
Step 1: Prepare Your Pan
Start by lining an 8×8 inch baking pan with parchment paper, making sure to leave an overhang on the sides. This clever step means you’ll be able to lift your fudge out easily once it sets, making cutting and serving a breeze.
Step 2: Melt Butter and Sweetened Condensed Milk
In a large saucepan over medium-low heat, melt the butter completely while stirring occasionally. Once melted, whisk in the sweetened condensed milk gradually until the mixture is smooth and velvety, which forms the creamy base for the chocolate.
Step 3: Add Chocolate Chips
Stir in both the semi-sweet and milk chocolate chips, maintaining constant stirring to ensure the chocolate melts fully and the mixture becomes glossy and luscious. This step is where the fudge’s decadent texture really starts to come together.
Step 4: Infuse with Vanilla
Once melted and smooth, stir in the vanilla extract to infuse the fudge with a rich, warm flavor that lifts all the chocolate and peanut butter notes.
Step 5: Mix the Peanut Butter Layer
In a separate bowl, combine the creamy peanut butter with powdered sugar until it’s completely smooth and creamy. This will form the bright, nutty layer that contrasts perfectly with the chocolate.
Step 6: Add the Red Swirl
Add a tiny amount of red food coloring gel to the peanut butter mixture, stirring until the color is evenly distributed. This little pop of color is what makes this recipe so striking and Halloween-ready.
Step 7: Assemble the Layers
Pour half of the chocolate mixture into your prepared pan and spread it out evenly. Then, spoon dollops of the red peanut butter mixture over the chocolate and use a skewer or butter knife to gently swirl the two together, creating that signature spooky effect.
Step 8: Finish with Chocolate and Optional Toppings
Pour the remaining chocolate mixture over the swirled peanut butter and spread it evenly. At this point, sprinkle your choice of pretzel sticks, crushed Oreos, or chopped nuts on top for an extra crunch and texture contrast.
Step 9: Chill and Set
Cover the pan tightly with plastic wrap and refrigerate for at least 4 hours, or better yet, overnight. This chilling step is essential for firming up the fudge so it cuts into perfect squares without melting or crumbling.
Step 10: Serve
Use the parchment paper overhang to lift the fudge from the pan. With a sharp knife wiped clean between every cut, slice it into 16 small squares. Arrange them on a serving platter and serve chilled for maximum enjoyment!
How to Serve Vampire Fudge: A Spooky Sweet Treat Recipe
Garnishes
Garnishing your Vampire Fudge: A Spooky Sweet Treat Recipe is your chance to get creative. Pretzel sticks offer spooky “fangs” vibes, while crushed Oreos add a graveyard soil texture. Chopped nuts bring crunch and an earthy feel, perfect for contrasting with the fudge’s creamy richness.
Side Dishes
This fudge pairs beautifully with a hot cup of coffee or spiced tea, helping to cut through the richness. For a Halloween party, serve alongside orange or black frosted cupcakes to create a festive dessert lineup everyone will love.
Creative Ways to Present
For a real showstopper, place the fudge squares on a tiered stand dotted with miniature pumpkins or fake spider webs for spooky charm. You can also wrap individual pieces in cellophane tied with red ribbon, perfect for gifting or party favors.
Make Ahead and Storage
Storing Leftovers
Leftover Vampire Fudge: A Spooky Sweet Treat Recipe keeps beautifully when stored in an airtight container in the refrigerator for up to 3-4 days. This keeps the fudge firm and preserves its rich flavor so every bite stays just as delicious as day one.
Freezing
You can freeze the fudge for longer storage by wrapping individual squares in parchment paper and placing them in an airtight freezer-safe container. It will keep well for up to 2 months. When you’re ready to enjoy, thaw in the refrigerator overnight to maintain texture.
Reheating
Fudge is best served chilled, so avoid reheating in the microwave or oven, which can alter texture and make it greasy. Instead, if you prefer it slightly softer, let it sit at room temperature for 10-15 minutes before serving.
FAQs
Can I use crunchy peanut butter instead of creamy?
While you can substitute crunchy peanut butter, the smooth texture of creamy peanut butter helps achieve that velvety consistency perfect for swirling. Crunchy versions might make the layer a bit grainy or less uniform.
Is there a dairy-free alternative for this fudge?
You could try replacing butter with a dairy-free margarine and use a dairy-free sweetened condensed milk substitute. However, the texture and flavor might differ slightly, so it’s best to test a small batch first.
How do I get the perfect swirl effect?
Use a spoon to dollop the red peanut butter mixture unevenly over the chocolate base, then gently drag a skewer or butter knife through in a figure-eight or swirling motion. Don’t overmix; you want distinct swirls, not a blended color.
Can I make this fudge without red food coloring?
Yes, you can skip the red food coloring, but it really adds that fun, creepy flair that sets this Vampire Fudge: A Spooky Sweet Treat Recipe apart for Halloween or themed events.
What if my fudge doesn’t set properly?
If your fudge is too soft, it might need more chilling time or could have had heat too high during melting. Make sure to refrigerate at least 4 hours, and avoid overheating the chocolate mixture for best results.
Final Thoughts
Vampire Fudge: A Spooky Sweet Treat Recipe is an absolute showstopper that blends classic comfort with Halloween spirit in every luscious bite. Its rich chocolate, creamy peanut butter, and the dramatic red swirl make it irresistible for any celebration. I hope you’ll give this recipe a try — and watch your friends’ faces light up with delight when they taste this hauntingly good creation!
“`
Print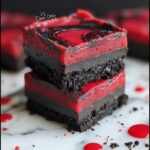
Vampire Fudge: A Spooky Sweet Treat Recipe
- Prep Time: 20 minutes
- Cook Time: 15 minutes
- Total Time: 4 hours 35 minutes
- Yield: 16 servings
- Category: Dessert
- Method: Stovetop
- Cuisine: American
Description
Vampire Fudge is a decadent and spooky sweet treat perfect for Halloween or any festive occasion. This rich, layered fudge combines creamy melted chocolate with a vibrant red peanut butter swirl, creating a visually striking and delicious dessert that’s both easy to make and sure to impress. Topped with optional crunchy garnishes like pretzel sticks, crushed Oreos, or nuts, this fudge offers a perfect balance of smooth, sweet, and salty flavors.
Ingredients
Chocolate Base
- 1 cup (2 sticks) unsalted butter
- 1 (14 ounce) can sweetened condensed milk
- 1 (12 ounce) bag semi-sweet chocolate chips
- 1 (12 ounce) bag milk chocolate chips
- 1 teaspoon vanilla extract
Red Peanut Butter Swirl
- 1 cup creamy peanut butter
- 1/2 cup powdered sugar
- Red food coloring gel (a tiny amount, for dramatic effect)
- 1/4 cup unsweetened cocoa powder
Optional Garnishes
- Pretzel sticks
- Crushed Oreos
- Chopped nuts
Instructions
- Prepare the Pan: Line an 8×8 inch baking pan with parchment paper, leaving an overhang on the sides for easy removal of the fudge later.
- Melt Butter: In a large saucepan over medium-low heat, melt the butter completely, stirring occasionally to avoid burning.
- Add Condensed Milk: Gradually whisk in the sweetened condensed milk until mixture is smooth and combined.
- Melt Chocolate: Add both semi-sweet and milk chocolate chips to the saucepan. Stir constantly until the chocolate is fully melted and has a smooth, glossy texture.
- Add Vanilla: Stir in the vanilla extract to enhance the flavor of the chocolate base.
- Prepare Peanut Butter Mixture: In a separate bowl, combine the creamy peanut butter and powdered sugar. Mix thoroughly until smooth and creamy.
- Color the Peanut Butter: Add a tiny amount of red food coloring gel to the peanut butter mixture and mix until the color is evenly distributed for a dramatic, vampire-inspired effect.
- Pour Chocolate Base: Pour half of the chocolate mixture into the prepared pan and spread it evenly to form the first layer.
- Add Peanut Butter Swirls: Spoon dollops of the red peanut butter mixture over the chocolate layer. Using a skewer or knife, gently swirl the peanut butter into the chocolate to create a marbled effect.
- Add Remaining Chocolate: Pour the remaining chocolate mixture over the peanut butter swirls and spread it evenly to cover the swirls completely.
- Add Garnishes: Sprinkle optional toppings such as pretzel sticks, crushed Oreos, or chopped nuts over the top for added texture and flavor.
- Chill the Fudge: Cover the pan tightly with plastic wrap and refrigerate for at least 4 hours, preferably overnight, to allow the fudge to set properly.
- Remove Fudge from Pan: Lift the fudge out of the pan using the parchment paper overhangs.
- Cut into Squares: Use a sharp knife to cut the fudge into small squares. Wipe the knife clean between cuts to maintain clean edges.
- Serve: Arrange the fudge squares on a serving platter and serve chilled for the best texture and flavor.
Notes
- Make sure to use parchment paper with an overhang for easy removal of the fudge.
- Use medium-low heat when melting ingredients to prevent burning the chocolate.
- Adjust the amount of red food coloring gel for desired color intensity.
- The fudge needs to chill for at least 4 hours to set well; overnight refrigeration is ideal.
- Wiping the knife between cuts helps make clean, neat fudge squares.
- Optional garnishes add texture contrast but can be omitted if desired.
