“`html
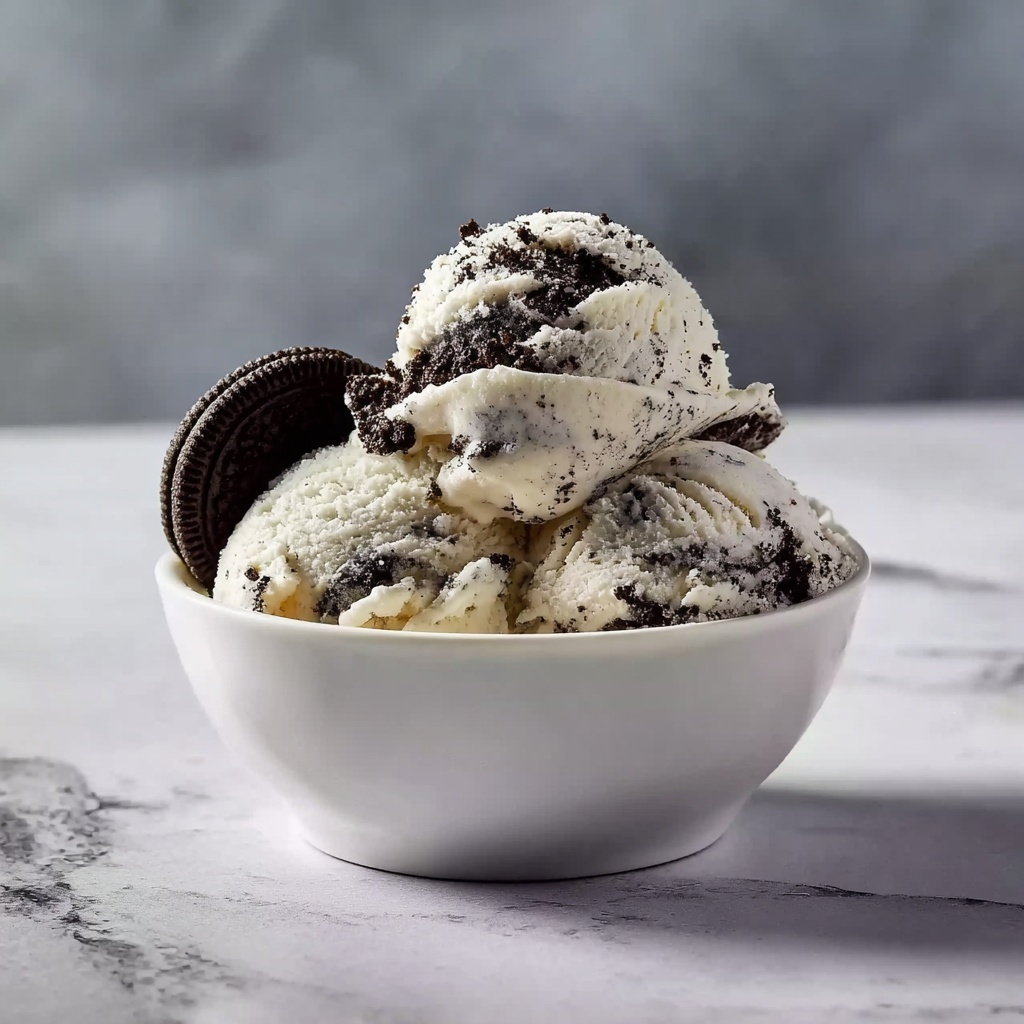
There’s nothing quite like the joy of making your own frozen treat at home, and this Cookies and Cream Ice Cream (No Machine Required) Recipe is the perfect sweet escape that requires zero fancy equipment but delivers all the creamy, crunchy magic you crave. Made with just a few simple ingredients, this recipe captures that timeless cookies and cream flavor in a luscious, fluffy texture that will have everyone coming back for seconds—and maybe thirds. Whether it’s a spontaneous craving or a special occasion, this ice cream feels like a nostalgic hug in a bowl.
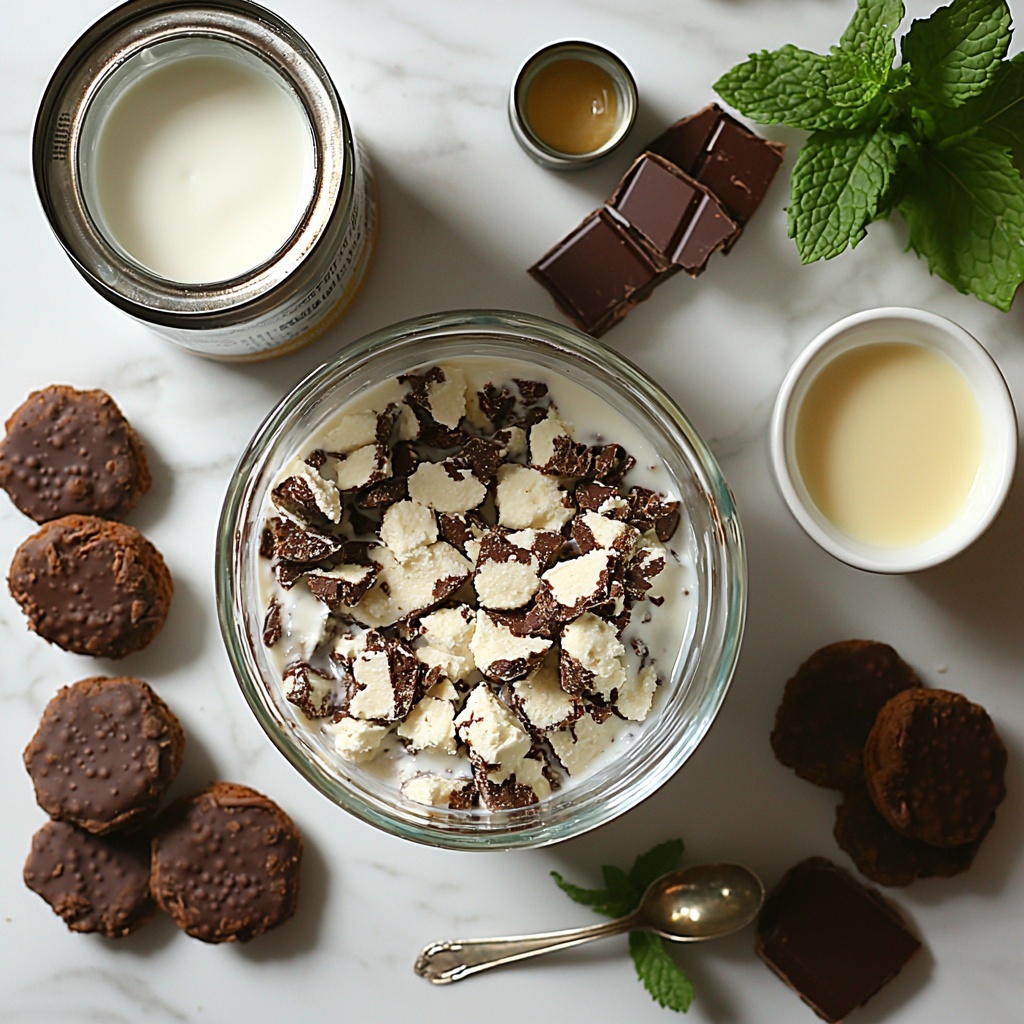
Ingredients You’ll Need
Gathering these essentials is a breeze, and each ingredient plays a starring role in transforming your kitchen into an ice cream haven. From rich creaminess to cookie crunch, every component shines through to create a harmoniously delicious dessert.
- 2 cups heavy cream (cold): This is the foundation of your silky, dreamy ice cream texture, whipped to perfection for fluffiness.
- 1 (14-ounce) can sweetened condensed milk: Adds intense sweetness and a creamy body without any fuss or extra sugar.
- 2 teaspoons vanilla extract: Infuses subtle warmth and enhances the overall flavor, rounding out the sweetness beautifully.
- 20 chocolate sandwich cookies (like Oreos), crushed: Provides the iconic crunch and chocolatey goodness that makes cookies and cream so irresistible.
How to Make Cookies and Cream Ice Cream (No Machine Required) Recipe
Step 1: Whip the Cream
Start with your cold heavy cream in a large mixing bowl. Using a hand or stand mixer, beat the cream on medium-high speed until stiff peaks form—it should look like soft clouds of whipped velvet that hold their shape when you lift the beaters. This step is essential for creating that luscious, airy base that will turn your ice cream into something extraordinarily light yet rich.
Step 2: Fold in the Sweetened Condensed Milk
In a separate bowl, stir together the sweetened condensed milk and vanilla extract. This mix is like the sweet, creamy heart of your ice cream, packing in the classic flavor. Now, gently fold the whipped cream into this mixture in batches. Take your time and be careful—folding rather than stirring keeps the air you whipped in intact, ensuring a fluffy, dreamy texture that melts just right on the tongue.
Step 3: Add the Cookie Crumbles
Here comes the fun part! Fold in your crushed chocolate sandwich cookies, choosing a mix of chunkier pieces alongside some finely crushed crumbs for a perfect texture contrast. Don’t forget to reserve a few spoonfuls for a lovely topping later. These cookie bits are what bring that nostalgic crunch and chocolate burst with every bite.
Step 4: Freeze
Transfer your gorgeous ice cream mixture into a loaf pan or airtight container. Sprinkle the reserved cookie crumbs on top for a decorative and tasty flourish. Cover well with foil or a lid to prevent freezer burn, then pop it in the freezer for at least six hours, or overnight if you can wait that long. The anticipation is part of the fun, as the mixture steadily transforms into your ultimate no-churn treat.
Step 5: Serve and Enjoy
Once firm, let your ice cream sit at room temperature for a few minutes to soften slightly—this makes scooping a breeze and lets all those wonderful flavors shine. Scoop generous servings, watch the smiles spread, and savor every creamy, crunchy bite. This ice cream is comfort in its most delicious form.
How to Serve Cookies and Cream Ice Cream (No Machine Required) Recipe
Garnishes
Enhance your serving presentation and flavor by adding some playful garnishes. A few extra cookie crumbs or even a whole cookie on the side adds a whimsical crunch. Fresh mint leaves or a drizzle of chocolate sauce can take this classic treat to a new level of indulgence and make it feel extra special for guests.
Side Dishes
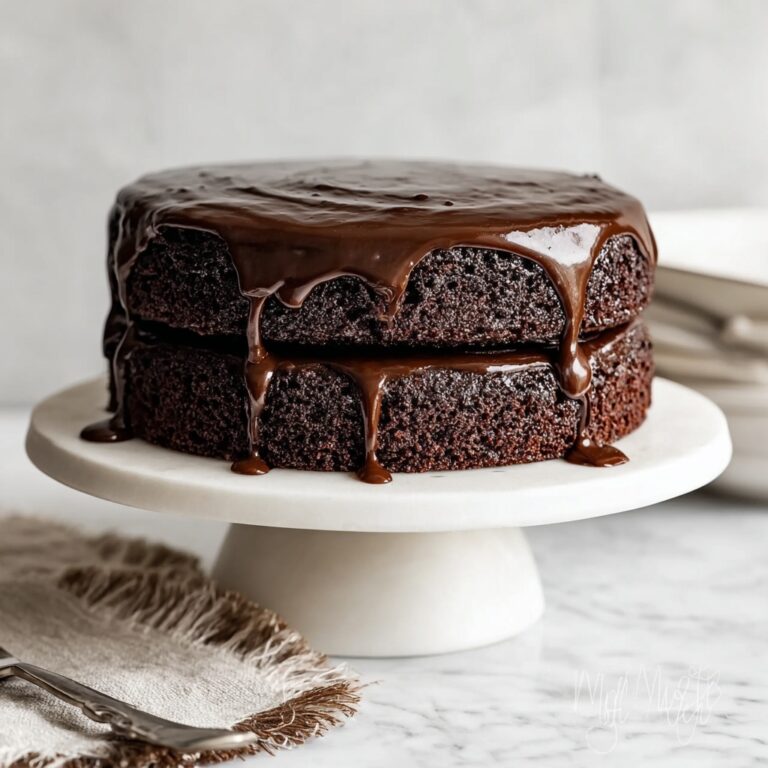
Cookies and cream ice cream pairs beautifully with warm desserts like freshly baked brownies or chocolate lava cake. The contrast between hot and cold elevates the experience, while a simple fruit salad provides a juicy, refreshing balance that cuts through the richness.
Creative Ways to Present
Think outside the bowl! Serve scoops inside chocolate-dipped cones, or layer the ice cream with crushed cookies and fudge sauce in parfait glasses for an elegant look. You can also sandwich the ice cream between cookie halves for a frozen treat that’s ready to eat on the go—no spoon required.
Make Ahead and Storage
Storing Leftovers
If you’re lucky enough to have any leftovers, keep them in an airtight container in the freezer to preserve texture and flavor. Proper sealing prevents ice crystals from forming, so your ice cream stays as creamy as the day you made it.
Freezing
This recipe is designed with no machine needed and freezes beautifully in your home freezer. Make sure to freeze it at least six hours or overnight for the best scoopability and firmness. Avoid frequent thawing and refreezing to keep that perfect texture intact.
Reheating
Ice cream isn’t one to be reheated in the traditional sense, but letting it soften at room temperature for a few minutes before scooping helps bring out its full flavor and makes serving so much easier. Avoid microwaving as it will melt the entire batch quickly.
FAQs
Do I really not need an ice cream machine for this recipe?
Absolutely not! This Cookies and Cream Ice Cream (No Machine Required) Recipe is specially crafted to create creamy, smooth ice cream without any specialized equipment—just a mixer and a freezer.
Can I use a different type of cookie?
Definitely! While classic chocolate sandwich cookies are traditional, feel free to experiment with your favorite cookies like chocolate chip or peanut butter for a unique twist.
How long can I store this ice cream?
Stored properly in an airtight container, your ice cream will keep well in the freezer for up to two weeks, maintaining its delicious texture and flavor.
Can I make this recipe vegan or dairy-free?
While this classic version relies on dairy, you can substitute coconut cream for heavy cream and a sweetened condensed coconut milk alternative to make a dairy-free version. Cookies would need to be dairy-free as well for a fully vegan dessert.
What’s the best way to crush cookies?
The easiest way is to place cookies in a sealed plastic bag and gently crush them with a rolling pin, aiming for a mix of fine crumbs and bigger chunks to add texture and interest to your ice cream.
Final Thoughts
Making your own ice cream has never been easier or more satisfying than with this Cookies and Cream Ice Cream (No Machine Required) Recipe. It’s a perfect blend of nostalgia, convenience, and deliciousness that’s bound to become a favorite in your recipe collection. So go ahead, whip it up and enjoy the smiles and happy memories that follow with every scoop.
“`
Print
Cookies and Cream Ice Cream (No Machine Required) Recipe
- Prep Time: 10 minutes
- Cook Time: 0 minutes
- Total Time: 6 hours 10 minutes
- Yield: 6–8 servings
- Category: Dessert
- Method: No-Cook
- Cuisine: American
Description
This no-churn Cookies and Cream Ice Cream is an easy and nostalgic treat that combines creamy vanilla ice cream with crunchy chocolate sandwich cookie pieces. Perfect for hot summer days or cozy family movie nights, this homemade ice cream requires no machine and can be ready in just a few simple steps. With a fluffy texture achieved by whipping heavy cream and a rich sweetness from sweetened condensed milk, it’s a delightful dessert that transports you back to cherished memories.
Ingredients
Ice Cream Base
- 2 cups heavy cream (cold)
- 1 (14-ounce) can sweetened condensed milk
- 2 teaspoons vanilla extract
Mix-ins
- 20 chocolate sandwich cookies (like Oreos), crushed
Instructions
- Whip the cream: Pour the cold heavy cream into a large mixing bowl. Using a hand mixer or stand mixer, whip the cream on medium-high speed until stiff peaks form. This creates a light and fluffy texture essential for your no-churn ice cream base.
- Fold in the sweetened condensed milk: In a separate bowl, combine the sweetened condensed milk and vanilla extract. Gently fold the whipped cream into this mixture in batches, taking care not to deflate the air whipped into the cream, keeping the mixture airy and light.
- Add the cookie crumbles: Fold in the crushed chocolate sandwich cookies, leaving some aside to sprinkle on top later for garnish and added texture.
- Freeze: Transfer the mixture into a loaf pan or airtight container. Sprinkle the reserved cookie crumbs on top. Cover with foil or a lid and freeze for at least 6 hours or overnight until firm.
- Serve and enjoy: Before serving, let the ice cream sit at room temperature for a few minutes to soften slightly. Scoop into bowls or cones, serve, and enjoy the classic cookies and cream flavors.
Notes
- For best results, ensure the heavy cream is very cold before whipping to achieve stiff peaks.
- Use a variety of cookie crumble sizes to add interesting texture.
- You can substitute chocolate sandwich cookies with gluten-free or vegan alternatives to accommodate dietary preferences.
- If you prefer a stronger cookie flavor, increase the number of cookies to 25.
- Store ice cream in an airtight container to prevent freezer burn and maintain texture.


