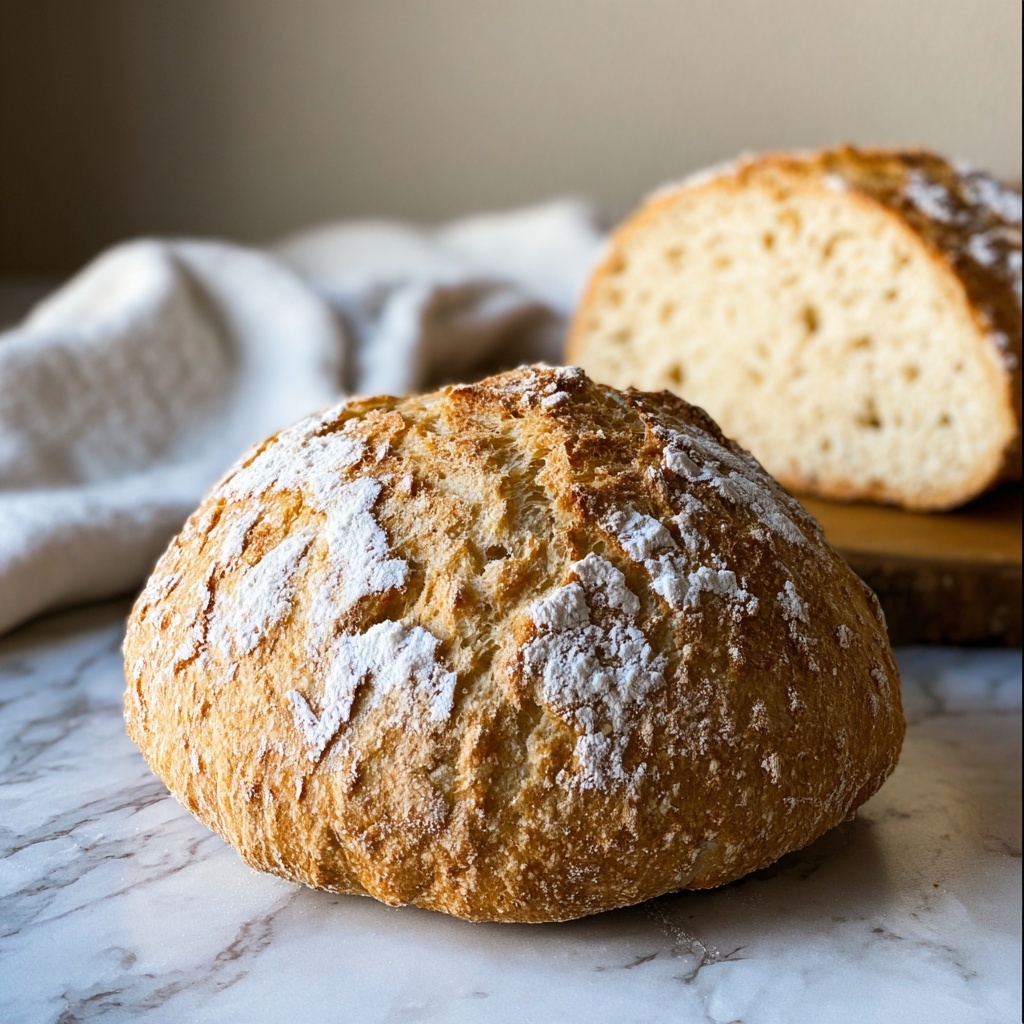
If you’ve ever dreamed of baking fresh artisan bread at home without the fuss of kneading and endless steps, you’re in for a treat with this Classic No-Knead Bread Recipe. This simple yet magical technique transforms just a few basic ingredients into a crusty, golden loaf with an airy crumb and chewy texture that tastes straight from a rustic bakery. It’s the perfect project for anyone who wants to fill their kitchen with that irresistible smell of homemade bread but without spending hours at the mixer. Trust me, once you make this Classic No-Knead Bread Recipe, you’ll want to keep it in your regular baking rotation.
Ingredients You’ll Need
Don’t let the short list fool you; each ingredient in this Classic No-Knead Bread Recipe is essential and brings its own character to the loaf. The simplicity of the ingredients is what makes this recipe so accessible and truly rewarding.
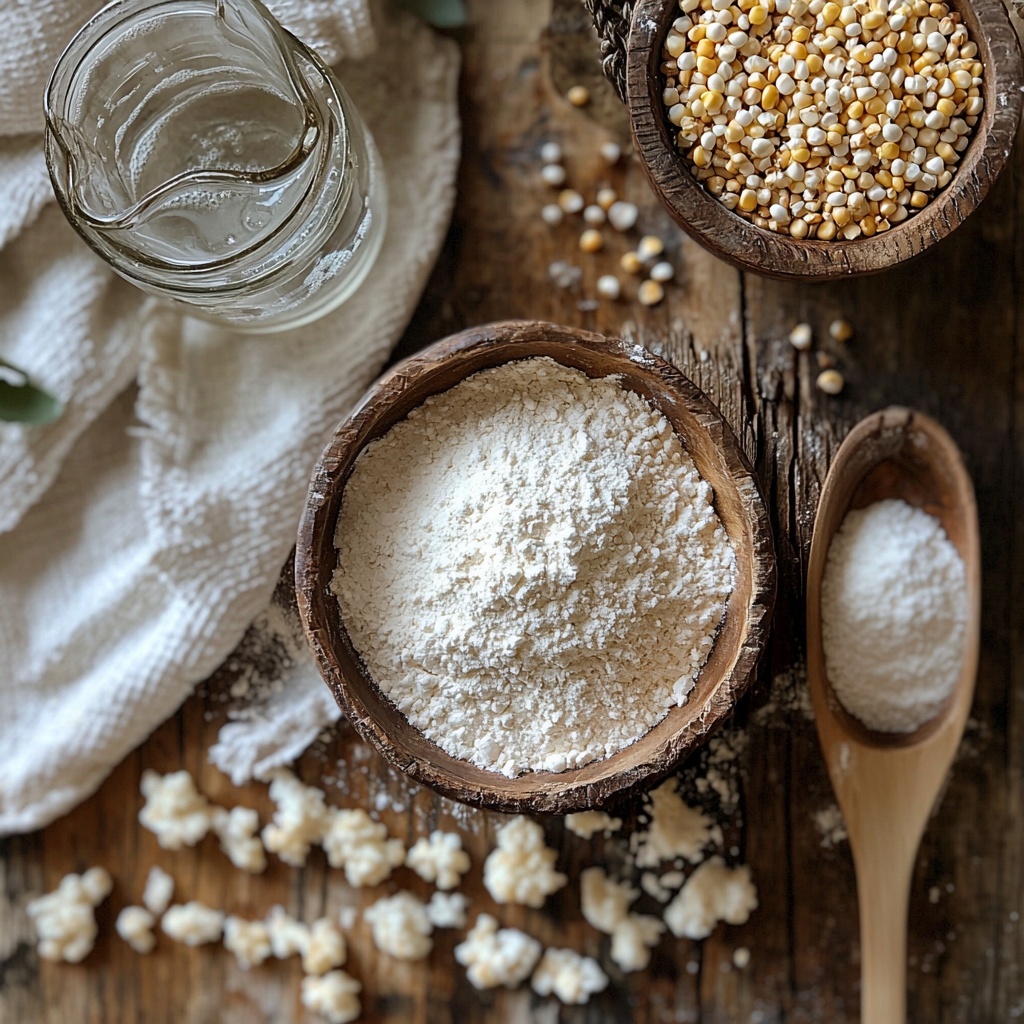
- 3 cups all-purpose flour: The backbone of your bread, it provides structure and the perfect crumb texture; don’t forget a little extra for dusting to keep things from sticking.
- 1 1/2 teaspoons salt: Enhances flavor and helps strengthen the dough’s gluten network.
- 1/2 teaspoon instant or active dry yeast: The magic little ingredient that makes the dough rise and develop its airy texture.
- 1 1/2 cups warm water (about 110°F): Activates the yeast and hydrates the flour, creating that signature shaggy dough.
- Cornmeal or additional flour for dusting (optional): Helps prevent sticking while adding a subtle texture to the bread’s bottom crust.
How to Make Classic No-Knead Bread Recipe
Step 1: Mix Your Ingredients
Start by whisking the flour, salt, and yeast together in a large bowl. Adding the warm water and stirring until a shaggy dough forms is almost like watching magic happen – no kneading needed yet, just a rustic mixture coming to life.
Step 2: Let It Rise Slowly
Cover your bowl tightly with plastic wrap or a clean kitchen towel and set it aside at room temperature for 12 to 18 hours. This long, slow fermentation is what creates those lovely bubbles and incredible depth of flavor — patience really pays off here!
Step 3: Preheat Your Dutch Oven
When you’re ready to bake, place a Dutch oven with its lid inside your oven and preheat to 450°F (230°C). Trust me, that sizzling hot pot is key to developing the bread’s stunning crust and perfect oven spring.
Step 4: Shape the Dough
Turn the bubbly dough out onto a well-floured surface, then use floured hands to gently fold the edges towards the center, shaping it into a round ball. Let the dough rest on parchment paper for 30 minutes, lightly covered — this final rest relaxes the dough so it bakes evenly.
Step 5: Bake to Golden Perfection
Carefully remove the Dutch oven—don’t forget it’s extremely hot—and use the parchment to lower your dough into the pot. Cover with the lid and bake for 30 minutes to trap steam, which is essential for that signature crust. Then remove the lid and bake an additional 12 to 15 minutes until your loaf turns a rich golden brown.
Step 6: Cool Before Slicing
Transfer your beautiful loaf to a wire rack and let it cool for at least 30 minutes before slicing. This wait is totally worth it to avoid gummy slices and to let the flavors fully develop.
How to Serve Classic No-Knead Bread Recipe
Garnishes
The lovely crust of this No-Knead Bread stands well on its own, but you can add a sprinkle of flaky sea salt or brush the crust lightly with olive oil and herbs for an extra layer of aroma and taste.
Side Dishes
This loaf pairs beautifully with warm soups, savory stews, and fresh salads. Its firm crumb holds up nicely to dips like hummus, olive tapenade, or even a rich cheese spread for snacks and light meals.
Creative Ways to Present
Impress your guests by slicing the bread thick and serving it alongside a charcuterie board, or turn slices into bruschetta with our favorite fresh tomatoes and basil. You can even transform leftover bread into croutons for salads and soups, doubling the joy of this Classic No-Knead Bread Recipe.
Make Ahead and Storage
Storing Leftovers
Wrap your bread in a paper bag and keep it at room temperature to maintain its crusty exterior and chewy interior for up to 3 days. Avoid plastic bags that trap moisture and make the crust soggy.
Freezing
If you want to extend the life of your bread, freeze the whole loaf wrapped tightly in plastic wrap followed by foil. When you thaw it at room temperature, the taste and texture come back surprisingly well.
Reheating
To revive your bread’s fresh-from-the-oven crust, pop slices or the whole loaf into a preheated oven at 350°F (175°C) for about 10 minutes. This little trick brings back that satisfying crunch and warm, comforting aroma.
FAQs
Can I use whole wheat flour in the Classic No-Knead Bread Recipe?
Absolutely! You can substitute up to half of the all-purpose flour with whole wheat flour, but keep in mind the bread might be a bit denser and require a little extra water due to the whole wheat’s absorption.
What happens if I don’t let the dough rise for 12 to 18 hours?
The long fermentation time develops flavor and texture; shortening it may result in a denser loaf without the signature airiness and depth that makes this recipe so special.
Do I have to bake the bread in a Dutch oven?
While the Dutch oven traps steam and creates the perfect crust, you can improvise with a heavy pot that has a lid or bake on a preheated baking stone with a pan of water in the oven to mimic steam.
Can I add herbs or other mix-ins to the dough?
Yes! Adding chopped herbs, olives, or shredded cheese before the first rise can add wonderful flavor twists to your Classic No-Knead Bread Recipe without extra effort.
Why is the dough so sticky, and is that normal?
Yes, the dough will be quite sticky and shaggy—that’s exactly right. Resist the urge to add too much flour; the sticky texture is what allows the long rise to develop a chewy crumb and open holes inside.
Final Thoughts
There’s something truly magical about the Classic No-Knead Bread Recipe: simple ingredients, minimal effort, and an incredible loaf that looks and tastes like you spent hours perfecting it. Whether you’re a seasoned baker or a curious beginner, this bread will quickly become a beloved staple in your kitchen. So go ahead, give it a try—you’ll be rewarded with fresh, crusty bread that feels like a cozy hug from your oven.
Print
Classic No-Knead Bread Recipe
- Prep Time: 10 minutes
- Cook Time: 45 minutes
- Total Time: 13 hours (including resting and rising time)
- Yield: 1 loaf (about 10–12 slices)
- Category: Bread
- Method: Baking
- Cuisine: American, European
- Diet: Vegan
Description
This Classic No-Knead Bread recipe delivers a crusty, artisan-style loaf with minimal effort. Using simple ingredients and a long fermentation period, it produces a flavorful, chewy bread with a golden crust baked perfectly in a Dutch oven. Perfect for home bakers seeking an easy yet impressive homemade bread.
Ingredients
Main Ingredients
- 3 cups all-purpose flour (plus extra for dusting)
- 1 1/2 teaspoons salt
- 1/2 teaspoon instant or active dry yeast
- 1 1/2 cups warm water (about 110°F)
Optional
- Cornmeal or additional flour for dusting (optional)
Instructions
- Mix Ingredients: In a large bowl, whisk together the flour, salt, and yeast. Add the warm water and stir with a wooden spoon or spatula until a shaggy dough forms.
- First Rise: Cover the bowl tightly with plastic wrap or a clean towel and let it sit at room temperature for 12 to 18 hours, until the dough is bubbly and has doubled in size.
- Preheat Oven and Dutch Oven: Place a Dutch oven with its lid in the oven and preheat to 450°F (230°C) for at least 30 minutes to ensure it is thoroughly heated.
- Shape Dough: Turn the dough out onto a well-floured surface. With floured hands, fold the edges toward the center to form a ball. Let it rest on a piece of parchment paper for 30 minutes, covered lightly with a towel.
- Bake Covered: Carefully remove the hot Dutch oven from the oven and use the parchment paper to lower the dough into the pot. Cover with the lid and bake for 30 minutes.
- Bake Uncovered: Remove the lid and bake for an additional 12 to 15 minutes, or until the crust is deep golden brown.
- Cool: Transfer the bread to a wire rack and let cool for at least 30 minutes before slicing to allow the crumb to set.
Notes
- The no-knead bread’s chewy texture results from the long fermentation time.
- For added flavor, mix in herbs, olives, or shredded cheese before the first rise.
- Store the bread in a paper bag at room temperature, where it keeps fresh for up to 3 days.


