
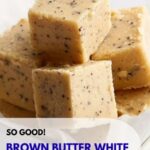
If you are searching for a luxurious sweet treat that perfectly balances rich, nutty flavors with creamy sweetness, look no further than this Brown Butter White Chocolate Fudge Recipe. This fudge dazzles with the deep, toasty essence of browned butter combined with the smooth melt-in-your-mouth texture of white chocolate. Every bite delivers a blissful harmony of buttery warmth and velvety sweetness, making it an irresistible delight whether you’re sharing it with loved ones or savoring it solo. It’s a decadent treat that feels special but is surprisingly simple to create, bringing a cozy, gourmet touch to your dessert repertoire.
Ingredients You’ll Need
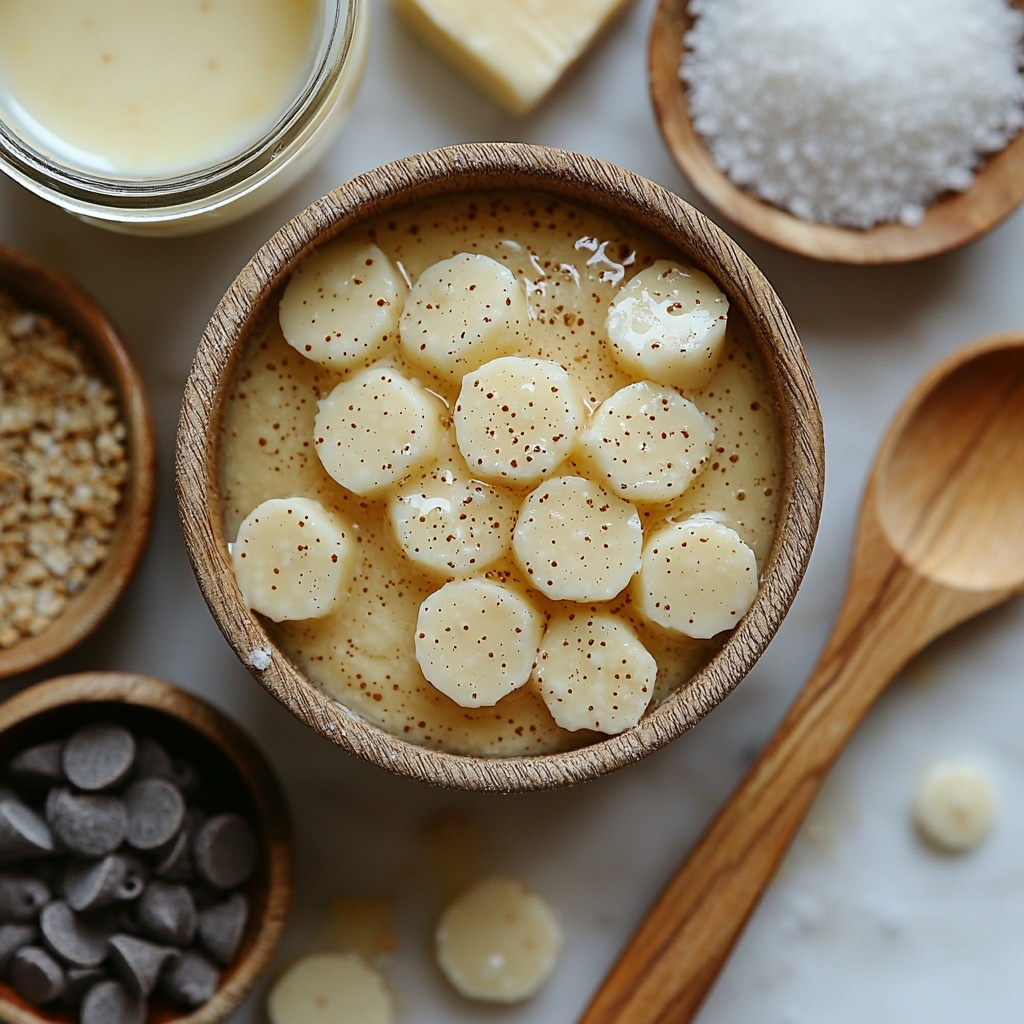
Let’s keep it straightforward with ingredients that truly make all the difference in flavor and texture. Each one contributes a crucial element, whether it’s creaminess, richness, or that signature brown butter depth.
- 1 cup unsalted butter: The star of the show that gets beautifully browned to create a warm, nutty flavor base.
- 3 cups white chocolate chips: Smooth and sweet, these melt perfectly to give the fudge a creamy, luscious texture.
- 1 can (14 oz) sweetened condensed milk: Provides that rich, velvety sweetness that binds everything together effortlessly.
- 1 teaspoon vanilla extract: Adds a fragrant, mellow note that enhances the overall complexity of the fudge.
- 1/4 teaspoon salt: A pinch to balance the flavors and bring out the sweetness and nuttiness even more.
How to Make Brown Butter White Chocolate Fudge Recipe
Step 1: Brown the Butter
Begin by melting the unsalted butter in a light-colored saucepan over medium heat. Stir constantly to prevent burning while watching closely for the butter to foam and develop tiny golden brown flecks. This browning process releases a nutty, aromatic richness that’s the secret behind the fudge’s deep flavor. Once browned, remove the pan from heat immediately to avoid overcooking.
Step 2: Combine the Sweetened Condensed Milk
Carefully pour the sweetened condensed milk into the hot browned butter. The mixture might bubble a bit at first, so stir gently to blend it all together. Return the pan to low heat and stir continuously until smooth and fully combined, creating a silky base perfect for the chocolate to melt seamlessly into.
Step 3: Melt the White Chocolate Chips
Add the white chocolate chips to your warm mixture. Stir consistently until the chips have melted completely and the mixture is creamy and smooth. This step is crucial for a fudge that sets with a velvety, buttery texture without any graininess.
Step 4: Add Vanilla and Salt
Remove the pan from heat and stir in the vanilla extract and salt. These tiny additions elevate the fudge, rounding out the sweetness with subtle aromatic and flavor contrasts, making it taste even more indulgent.
Step 5: Set the Fudge
Line an 8×8-inch dish with parchment paper so the fudge won’t stick. Pour the luscious mixture into the dish and spread it evenly with a spatula. Give the pan a gentle tap on the counter to release any trapped air bubbles, ensuring a smooth, perfect finish once set.
Step 6: Chill and Cut
Refrigerate the fudge for 2 to 3 hours until it’s fully firm. Once set, lift it out of the dish using the parchment paper and cut into 36 neat squares. These bites are ready to be enjoyed or gifted, each piece an indulgent morsel of browned butter and creamy white chocolate bliss.
How to Serve Brown Butter White Chocolate Fudge Recipe
Garnishes
To add a bit of visual appeal and texture contrast, consider sprinkling chopped toasted nuts on top, such as pecans or macadamias, before chilling. A light dusting of flaky sea salt enhances the flavor profile by offsetting the sweetness with a subtle crunch. Alternatively, delicate edible gold leaf can make your fudge feel extra festive and elegant for special occasions.
Side Dishes
Serve this fudge alongside a cup of freshly brewed coffee or robust black tea. The bittersweet bitterness of the beverages complements the fudge’s buttery sweetness remarkably well. For a dessert spread, pair it with fresh berries or a light citrus sorbet to balance richness with a refreshing note.
Creative Ways to Present
Wrap fudge squares individually in colorful parchment or cellophane tied with twine for charming homemade gifts. You can also layer fudge pieces with crushed cookies or chocolate brownie bites in a dessert trifle bowl for a stunning layered sweet. Another fun idea: place the fudge squares on wooden skewers with marshmallows and drizzle them with dark chocolate for a playful fudge pop.
Make Ahead and Storage
Storing Leftovers
Once cut, store your fudge in an airtight container at room temperature or in the refrigerator if your home tends to be warm. Properly stored, it will stay fresh and creamy for up to two weeks, offering you a ready-to-enjoy treat whenever the sweet tooth strikes.
Freezing
You can freeze fudge to keep it fresh even longer. Wrap individual pieces tightly in plastic wrap and then place them in an airtight container or freezer bag. Frozen fudge keeps well for up to three months, and thawing in the fridge overnight ensures it remains soft and scoopable.
Reheating
Reheating fudge isn’t usually necessary, but if you prefer it softer, simply let the pieces sit at room temperature for about 15–20 minutes. Alternatively, a few seconds in the microwave on low power can soften the fudge, but be careful not to melt or overheat it as that affects texture.
FAQs
Can I use salted butter instead of unsalted butter?
It’s best to use unsalted butter for this Brown Butter White Chocolate Fudge Recipe so you can control the salt level precisely. Salted butter might make the fudge slightly too salty, but if that’s all you have, reduce or omit the added salt in the recipe.
Why does the butter need to be browned?
Brown butter has a rich, nutty flavor due to the milk solids caramelizing during heating. This flavor adds incredible depth and complexity to the fudge, transforming it from ordinary white chocolate fudge to something truly gourmet and unforgettable.
How can I tell when the brown butter is ready?
Watch for a golden brown color with tiny brown flecks in the butter and a fragrant nutty aroma. Stir continuously so it doesn’t burn, and remove from heat as soon as you detect these signs to keep the flavor perfect.
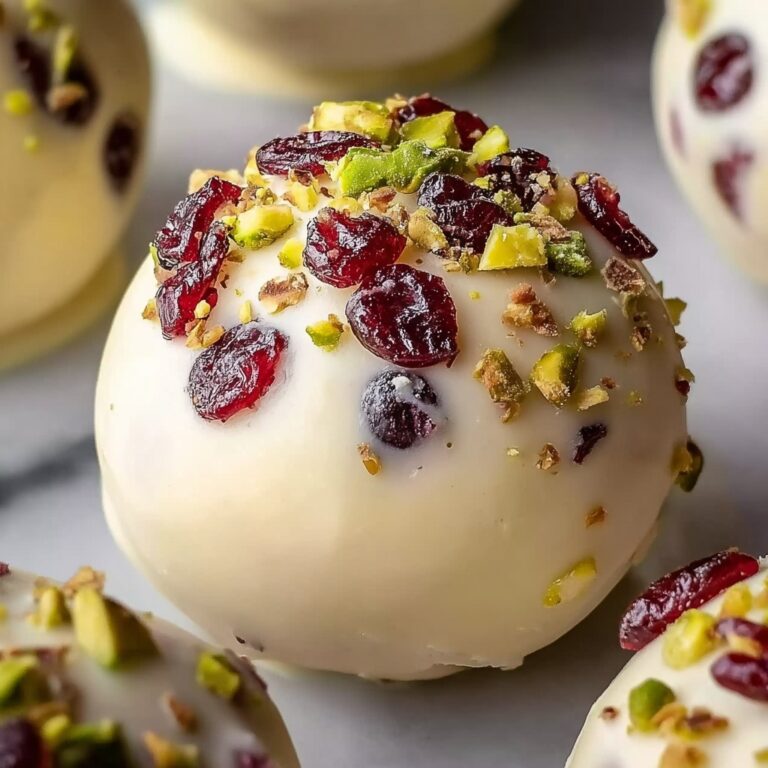
Can I add mix-ins like nuts or dried fruit?
Absolutely! Stir in chopped toasted nuts, dried cranberries, or even toffee bits after the vanilla and salt step but before pouring into the pan. Just remember that adding mix-ins might alter the texture slightly but adds wonderful flavor and crunch.
How does this fudge differ from regular white chocolate fudge?
The key difference is browning the butter first, which adds a deeper, caramelized flavor layer. Regular white chocolate fudge tends to be sweet and creamy, but with the brown butter, you get added warmth, richness, and a satisfying nuttiness.
Final Thoughts
This Brown Butter White Chocolate Fudge Recipe is a delightful way to elevate a classic treat into something extraordinary. It’s simple enough for a weekend project but yields a result that feels indulgently special. Whether you’re sharing it as a gift or enjoying a comforting homemade dessert, each bite is guaranteed to bring a smile. I can’t wait for you to try it and experience that perfect blend of buttery, nutty, and sweet all wrapped up in one luscious fudge square.
Print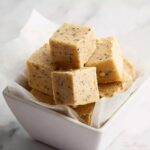
Brown Butter White Chocolate Fudge Recipe
- Prep Time: 20 minutes
- Cook Time: 3 hours
- Total Time: 3 hours 20 minutes
- Yield: 36 pieces
- Category: Dessert
- Method: Stovetop
- Cuisine: American
Description
This luscious Brown Butter Fudge combines the rich, nutty flavor of browned butter with creamy white chocolate and sweetened condensed milk, creating a smooth, melt-in-your-mouth treat. Perfectly sweet with a hint of vanilla and a touch of salt to balance the flavors, this fudge is easy to make and ideal for holiday gifting or indulgent snacking.
Ingredients
Fudge Ingredients
- 1 cup unsalted butter
- 3 cups white chocolate chips
- 1 can (14 oz) sweetened condensed milk
- 1 teaspoon vanilla extract
- 1/4 teaspoon salt
Instructions
- Brown the Butter: Place the unsalted butter in a light-colored saucepan over medium heat. Let it melt while stirring constantly. Watch carefully as it foams and then begins to turn a golden brown color with nutty aroma. Remove from heat immediately to avoid burning once the butter shows golden brown flecks.
- Add Sweetened Condensed Milk: Carefully pour the sweetened condensed milk into the hot browned butter. Stir to combine thoroughly, then return the pan to low heat. Keep stirring until the mixture is smooth and well blended.
- Melt the White Chocolate: Add the white chocolate chips to the warm mixture. Stir continuously until the chocolate chips are fully melted and the fudge mixture becomes creamy and smooth.
- Add Flavorings: Remove the saucepan from the heat. Stir in the vanilla extract and salt until they are completely incorporated and the fudge mixture is well mixed.
- Prepare for Setting: Line an 8×8-inch square dish with parchment paper. Pour the fudge mixture into the prepared dish, spreading it evenly. Tap the pan gently to remove any air bubbles, ensuring a smooth surface.
- Chill to Set: Refrigerate the fudge for 2 to 3 hours or until it is fully set and firm. Once set, cut the fudge into 36 small squares and serve.
Notes
- Using a light-colored pan helps to easily monitor the browning of the butter and prevents burning.
- Do not rush the browning process; patience is key to developing the nutty flavor.
- Make sure the fudge mixture is smooth before pouring it into the dish to avoid grainy texture.
- Parchment paper lining helps in easy removal of fudge from the pan.
- Store leftover fudge in an airtight container in the refrigerator for up to 1 week.

