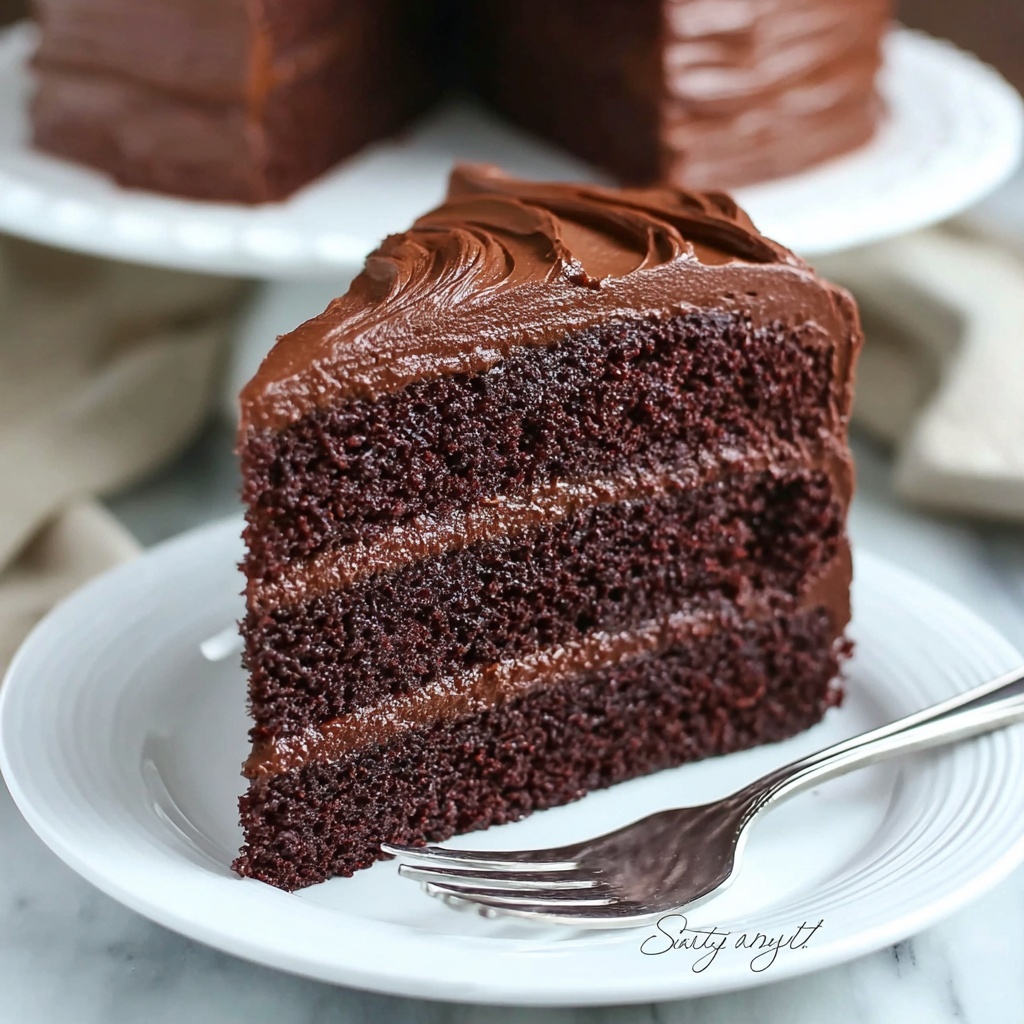
If you have a sweet tooth and love the rich, comforting flavors of chocolate, this Homemade Chocolate Cake Recipe is going to become your new best friend. It’s a wonderfully moist and tender cake that perfectly balances deep cocoa flavor with just the right hint of sweetness, making every bite pure chocolate bliss. Whether you’re celebrating a special occasion or just craving something indulgent, this recipe is simple enough to whip up any day, and it always delivers a show-stopping dessert that everyone will rave about.
Ingredients You’ll Need
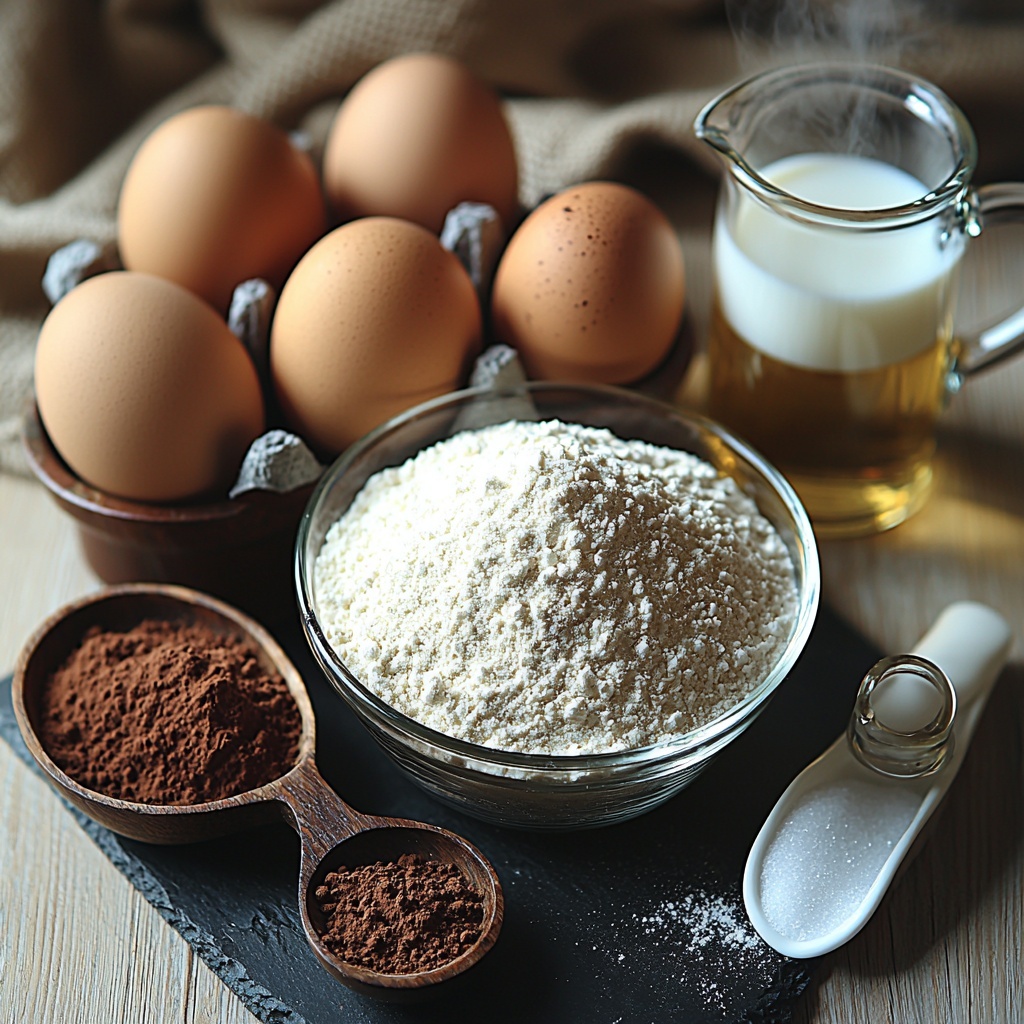
To make this Homemade Chocolate Cake Recipe shine, you’ll rely on a handful of essential ingredients that are pantry-friendly yet pack a punch in flavor and texture. Each component plays a crucial role–from the rich cocoa to the smooth oil–ensuring your cake comes out perfectly moist, fluffy, and full of chocolate goodness every time.
- 1¾ cups all-purpose flour: Provides structure and gives the cake its tender crumb.
- 1½ teaspoons baking powder: Helps the cake rise and become light and airy.
- 1½ teaspoons baking soda: Works with the acidic elements for a perfect lift and tenderness.
- ½ cup unsweetened cocoa powder: The heart of the chocolate flavor, giving the cake its rich, deep color and taste.
- 2 cups granulated sugar: Sweetens and balances out the bitterness of the cocoa.
- 1 teaspoon salt: Enhances all the flavors for a well-rounded taste.
- 2 large eggs: Bind the ingredients and add richness.
- 1 cup whole milk: Adds moisture and keeps the cake tender.
- ½ cup vegetable oil: Ensures a moist texture that stays fresh longer.
- 2 teaspoons vanilla extract: Adds a warm, sweet aroma that complements the chocolate.
- 1 cup boiling water: Intensifies the cocoa flavor and helps create that irresistible, silky batter.
How to Make Homemade Chocolate Cake Recipe
Step 1: Prepare Your Pans and Oven
Start by preheating your oven to 350°F (175°C). While it’s heating up, generously grease and flour two 9-inch round cake pans. This step is crucial to make sure your cakes come out cleanly and maintain their perfect shape.
Step 2: Mix Dry Ingredients
In a large bowl, whisk together your flour, baking powder, baking soda, unsweetened cocoa powder, granulated sugar, and salt. This ensures that all the dry ingredients are evenly distributed, providing a smooth foundation for your batter.
Step 3: Incorporate Wet Ingredients
Next, add in the eggs, whole milk, vegetable oil, and vanilla extract to your dry mix. Beat everything together until the batter is nice and smooth, with no lumps in sight. This blend will give your cake its rich and tender crumb.
Step 4: Add Boiling Water Gradually
Slowly add the boiling water into your batter, stirring constantly. Yes, the batter will be thinner than you might expect, but this is exactly what you want—it helps to create a moist, delicate cake texture packed with intense chocolate flavor.
Step 5: Pour Batter into Pans
Divide the batter evenly between the two prepared pans. Taking your time here ensures even baking and a consistent cake height on each layer.
Step 6: Bake to Perfection
Bake the cakes for 30 to 35 minutes. To check if they’re done, insert a toothpick in the center—it should come out clean or with just a few moist crumbs attached. This is the sweet spot for a perfectly baked cake that won’t dry out.
Step 7: Cool Before Decorating
Let your cakes cool in their pans for about 10 minutes—this prevents them from breaking apart when you remove them. Then, transfer the cakes to a wire rack and allow them to cool completely before frosting or serving.
How to Serve Homemade Chocolate Cake Recipe
Garnishes
A simple dusting of powdered sugar or a few fresh raspberries on top can turn this chocolate cake into an elegant dessert. For a richer finish, smooth on some creamy chocolate ganache or whipped cream to add contrasting textures and flavors.
Side Dishes
Pairing the homemade chocolate cake with a scoop of vanilla ice cream or a dollop of fresh whipped cream elevates the experience. You can also serve it alongside fresh berries or a warm caramel sauce for a delightful balance of flavors.
Creative Ways to Present
For a stunning presentation, try layering the cake with your favorite frosting and adding chocolate shavings or sprinkles on top. You might also cut the cake into cupcakes or make a layered trifle with alternating cake pieces, frosting, and berries for a fun twist on tradition.
Make Ahead and Storage
Storing Leftovers
Once your Homemade Chocolate Cake Recipe is baked and frosted, store any leftovers in an airtight container in the refrigerator. This way, your cake will stay fresh and moist for 3-4 days, allowing you to enjoy every last bite without any rushed eating.
Freezing
If you want to keep your chocolate cake longer, freezing is the way to go. Wrap the cake tightly in plastic wrap, then place it in an airtight freezer bag or container. It can be frozen for up to 2 months without losing that delicious moisture and flavor.
Reheating
To enjoy your cake after refrigeration or freezing, bring slices to room temperature before serving. If you prefer warm cake, pop individual slices in the microwave for 15-20 seconds—they’ll taste freshly baked and utterly irresistible.
FAQs
Can I use different types of flour in this recipe?
While all-purpose flour works best for this Homemade Chocolate Cake Recipe, you can substitute with cake flour for a lighter texture. Just remember that it might slightly alter the structure, making it more delicate.
What type of cocoa powder should I use?
Use unsweetened cocoa powder to achieve the rich, bold chocolate flavor intended by this recipe. Natural or Dutch-processed cocoa both work, but Dutch-processed will give a slightly smoother, less acidic taste.
Is it necessary to use boiling water?
Yes, boiling water helps to bloom the cocoa powder and intensifies the chocolate flavor, while keeping the batter extra smooth and thin for a moist cake. Don’t skip this step—it’s a game changer!
Can I make this a gluten-free cake?
You can try substituting a gluten-free flour blend, but results may vary. Because gluten impacts the cake’s structure, you might want to look for a recipe specifically tailored to gluten-free baking for best results.
How many layers does this recipe make?
This recipe yields two 9-inch round cake layers, perfect for stacking and frosting into a classic two-layer cake. It serves about 12 people generously, ideal for parties or family gatherings.
Final Thoughts
This Homemade Chocolate Cake Recipe has all the ingredients to become your go-to dessert whenever you want something rich, moist, and delectably chocolatey. It’s simple enough for bakers of all skill levels but impressive enough to wow any crowd. Give it a try and prepare to fall in love with each luscious layer—you won’t regret it!
Print
Homemade Chocolate Cake Recipe
- Prep Time: 15 minutes
- Cook Time: 35 minutes
- Total Time: 50 minutes
- Yield: 12 servings
- Category: Dessert
- Method: Baking
- Cuisine: American
Description
This homemade chocolate cake is a rich and moist dessert perfect for any occasion. Made with cocoa powder and a combination of baking powder and baking soda, it yields a tender crumb with a deep chocolate flavor. The recipe is easy to follow, using common pantry ingredients, and results in two 9-inch round cakes that can be layered or served individually.
Ingredients
Dry Ingredients
- 1¾ cups all-purpose flour
- 1½ teaspoons baking powder
- 1½ teaspoons baking soda
- ½ cup unsweetened cocoa powder
- 2 cups granulated sugar
- 1 teaspoon salt
Wet Ingredients
- 2 large eggs
- 1 cup whole milk
- ½ cup vegetable oil
- 2 teaspoons vanilla extract
- 1 cup boiling water
Instructions
- Preheat and Prepare Pans: Preheat your oven to 350°F (175°C). Grease and flour two 9-inch round cake pans to ensure the cakes don’t stick after baking.
- Combine Dry Ingredients: In a large mixing bowl, whisk together the all-purpose flour, baking powder, baking soda, unsweetened cocoa powder, granulated sugar, and salt until well combined.
- Add Wet Ingredients: Add the eggs, whole milk, vegetable oil, and vanilla extract to the dry ingredients. Mix everything together until the batter is smooth and uniform in texture.
- Incorporate Boiling Water: Gradually pour in the boiling water while stirring constantly. The batter will become thin, but this is expected and will help create a moist cake.
- Pour Batter into Pans: Evenly divide the batter between the two prepared cake pans, ensuring equal thickness for even baking.
- Bake the Cakes: Place the pans in the preheated oven and bake for 30 to 35 minutes, or until a toothpick inserted into the center of the cakes comes out clean.
- Cool the Cakes: Allow the cakes to cool in their pans for about 10 minutes, then carefully transfer them to a wire rack to cool completely before frosting or serving.
Notes
- Ensure the boiling water is added gradually to avoid splashing and to incorporate it smoothly.
- Letting the cakes cool completely before frosting prevents melting or sliding of frosting layers.
- The batter will be thin after adding boiling water—that’s normal and contributes to the cake’s moistness.
- For best results, measure flour by spooning it into the measuring cup and leveling it off to avoid packing.
